The picture frame has come a long way since the last post. I now have the wooden frame for it built and almost done but we will come back to that in a minute. Since the last update I have completely remade some of the electronics. The only reason I did this is because I fried 2 different wireless receivers for my button inputs and since I wanted to add a few more items I decided to basically start from scratch. Beyond the remote control for input I added the following items
- On board power switch that turns the monitor on and off
- The switch has a LED in it which will tell you the status of the screen
- Input for monitoring status of screen
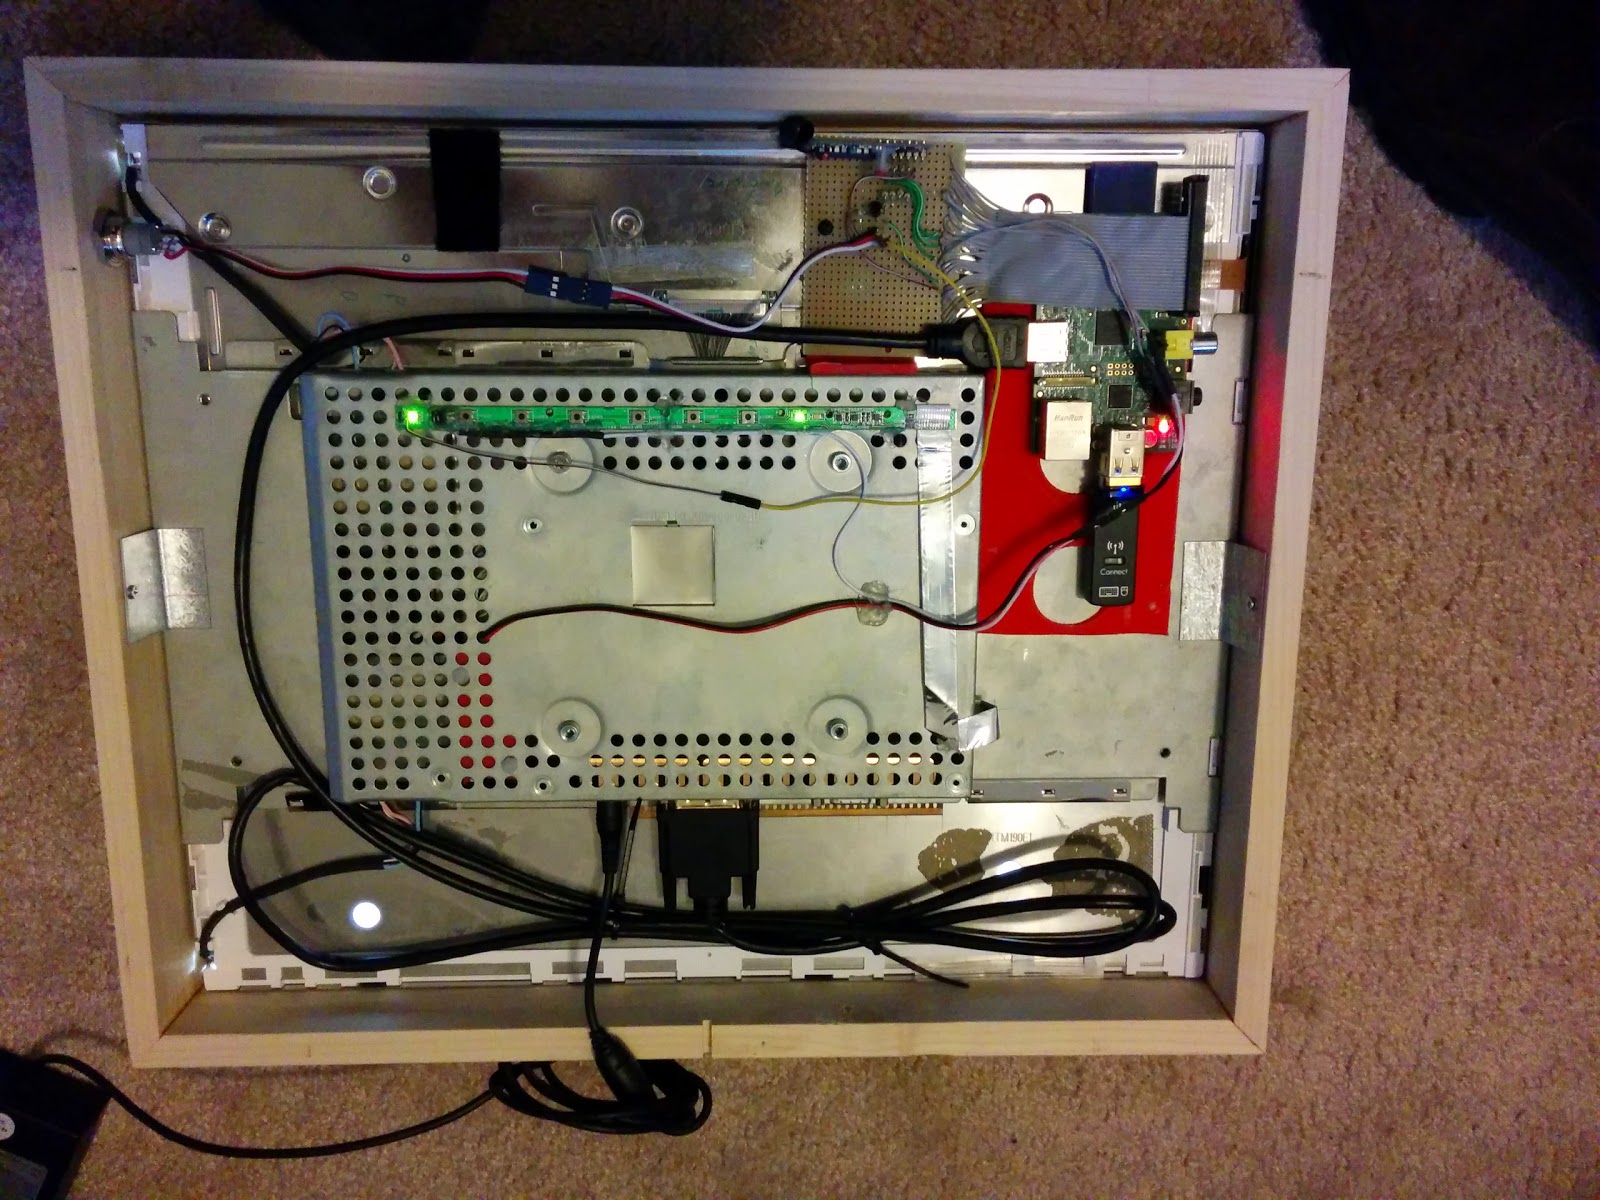
Above you can see my old setup (on the bottom) and my new setup (on the top). Yes it is probably 3-4 times bigger but you never know what you may want to add to the project down the line so I left it big. It helps that I have excess space so I can easily leave it big. On my old setup I had the resistor divider n the back of the wireless receiver. This time I have it on the perf board. To add the power button I had a few options.
- Wire the button in parallel with the original monitor button
- Wire the button in parallel with the remote button that tells the pi to turn the screen on or off
- Wire the button to a new input
I liked the hardware approach better than the software approach so that took off one option. To keep the number of wires coming off my new board to the bare minimum I decided to wire the switch in parallel with the wireless receiver. The power button I used is from adafruit and can be found
here
Instead of having 4 wires coming back from the switch (LED +, LED -, Switch Common, Switch Normally Open) I only have 3 (5v, Switch Nomally Open, LED -) I have done me best to make each different part removable in case something breaks it should be pretty easy to replace. Since everyone likes schematics you can see mine below.
You will notice that I also have a transistor setup to switch the LED on instead of relying on the PI to supply enough current. I also wanted it to run off 5 volts instead of the 3.3 the pi will put out. There is also a transistor right by the monitor button. At this point I have not done any additional coding but all of the hardware is now done.
Now on to the actual wooden Frame. Due to the thickness of the monitor I new the frame was going to be thick and it doesn't bother me one bit.
I got the wood from my local Lowes. Each side is made up of a 1/2 x 3 and 1/4 x 1.5 glued together.
I glued them together mitered the corners and glued it all together to make a nice frame. Then I cut it down to a little over the thickness of the frame so it wouldn't be to excessively thick. I still need to add a hole for the button and make a notch bottom center for the power cord to come out in case it gets hung on a wall.


